Tour Pack and Liner Install Guide: Elevate Your Ride
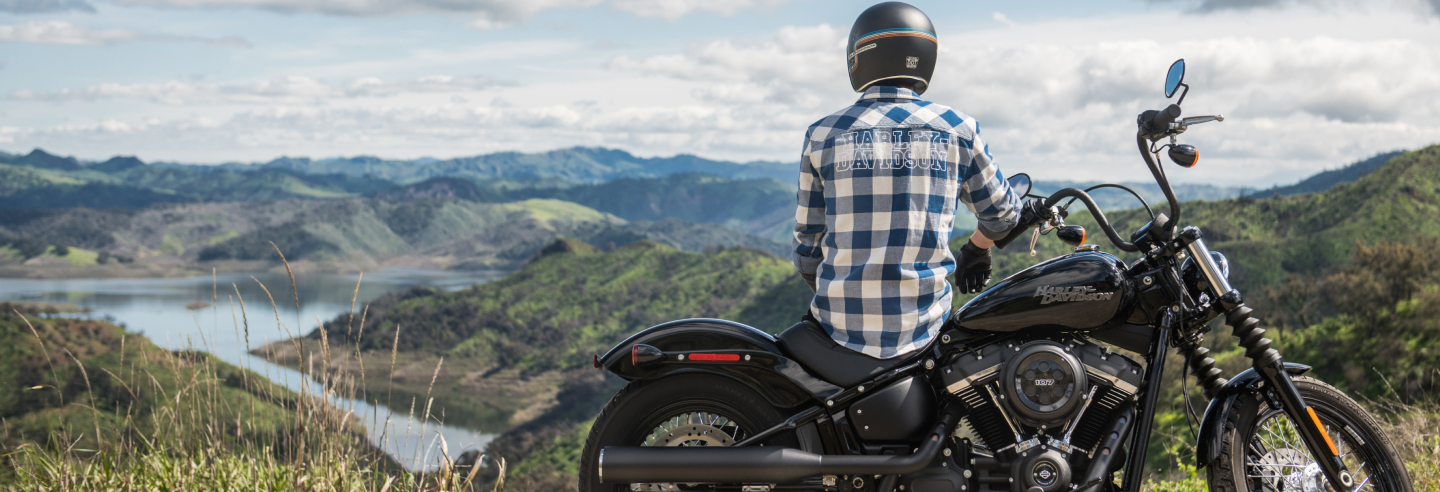
Anyone who likes to travel on their Harley Davidson Touring Motorcycle, either already has a Tour Pack or is seriously thinking about getting one. Advanblack has motorcycle tour packs in 3 sizes – the Razor (small), Chopped (medium), and the King (large) to store whatever kind of gear you need for an overnighter or a week-long excursion (did someone say “Sturgis?”)
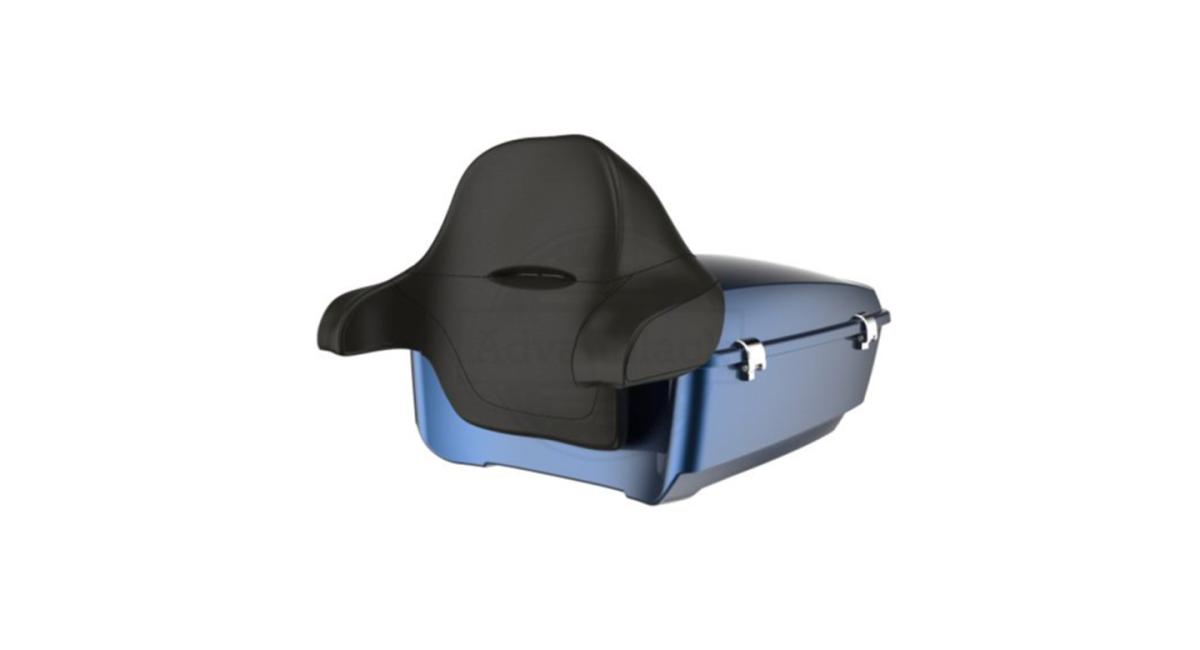
Whatever you’re traveling with, the last thing you want is for your valuables to get damaged along the way. Protect your stuff with Advanblack Tour Pack Liners. Advanblack liners are custom stitched for a perfect fit for whatever Tour Pack you own (or are thinking about buying). They fit both the lid and bottom like a glove, and they’re easy to install.
Why do I need a Tour Pack Liner?
A liner is a must-have if you travel with fragile items, such as camera gear, phones, laptops, or other breakables. Advanblack liners are thick and durable, so whatever the road throws at you, you know you have extra protection for your valuable items.
Advanblack liners also look awesome and will enhance the appearance of your bike. We use the highest quality, synthetic leather that is anti-corrosive and waterproof. Our liners are custom embroidered with a custom stitch pattern that you won’t find anywhere else, and five different thread colors are available to match your bike’s color – beige, orange, red, blue, and black.
Why are Advanblack Tour Pack Liners better?
There are lots of liner options out there, but Advanblack has really taken liners to a new level. We know what Harley Touring owners want, and these liners deliver. On top of being the made with the highest quality materials and cool, custom embroidery, Advanblack liners are better because:
Custom Fit
These liners fit perfectly into every nook and cranny of the Tour Pack. This includes a cut-out for the tether assembly that connects the lid to the bottom. Once it’s installed, it’s not going to fold or crinkle or leave ugly gaps. It’s perfect.
No Glue
There’s no glue to deal with. Advanblack’s liners attach and stay in place with Velcro. The liners come with a 10’ spool of Velcro tape. You cut the Velcro into strips, stick them onto the interior cavities of your Tour Pack’s bottom and top, and the Velcro hooks onto the soft fabric of the backside of your liners.
Easy to Clean
Guess what? Because there’s no glue, these liners are easier to remove and clean. Most of the time you’ll probably just wipe the liners down to keep them looking good, but occasionally they need a good wash and being able to just pull them from the Velcro strips will make your life a lot easier. This is especially handy if something spills. Just pull the liner out with all the mess and get it cleaned up. And if you need to put in more Velcro, it’s easy to reinstall.
These liners are safe to throw in the washer, but it’s a good idea to air dry them. When they’re ready to reinstall, just pop them in the dryer again, like when you first got them.
No Black Bottom
These liners don’t have a false bottom like some liners on the market. The stitching completely covers every part of the liner.
Cinch to Install
These liners are really easy to install, thanks to the exact fit and Velcro.
How do I install Advanblack Tour Pack Liners?
The Tour Pack liners come as a pair – one goes in the lid and one goes in the bottom. You also get 10’ of self-adhesive Velcro tape. That’s all you need. If you’re buying a new Tour Pack at the same time as the liners, we recommend installing the liners as the last step before installing the Tour Pack to your bike.
The liners come folded up in a box, so the first thing you want to do is get all the folds out. Lay the liners out in the sun for a couple of hours or put them in the dryer on low heat for 5-10 minutes. This loosens them up and makes them much more flexible and easier to push down into the Tour Pack cavities.
While the liners are loosening up, cut the Velcro into strips. You don’t have to go crazy with Velcro everywhere, and the bottom won’t need as many strips as the top, thanks to gravity and the weight of whatever you’ve got stowed. All you need for the bottom are some strips around the rim and then three or four strips in the middle on the mounting plate.
Here’s a tip… the self-adhesive side of the Velcro tape is VERY sticky. It’s a good idea to plan out where you want to put the strips. And don’t skip cutting it into short 10” to 12” strips. If you try and run one long piece of tape along the outside rim of the Tour Pack sections, you’re likely going to mess up and have to spend time pulling off the tape and redoing it. Plan and cut.
Before you start putting in the Velcro strips, you’ll want to remove the retractable tether. There’s a bracket on the bottom section of the Tour Pack. Remove two screws to take off this bracket. There’s a retractable tether assembly that is mounted to the top lid of the Tour Pack. Do not remove this; the liner has a hole cut for this.
Once you have the strips in place, work the liner into the top section of the Tour Pack and stretch the liner around the retractable tether assembly. This takes a little bit of time, but just work into place slowly. You may have to pull it up from the Velcro a couple of times, but you’ll get it. Then, get the bottom liner into place. The last thing to do is reinstall the tether bracket to the bottom section and then re-attach the tether line from the top section to the bottom section bracket. If you want to see Steve install these liners, check out his video here.
Once these liners are installed, you’ll better appreciate the attention to detail of the stitching. It’s the stitching that allows the liners to fit so snug in the Tour Pack. And if you have Saddlebags, Advanblack has liners for those as well. Get a matching set!